Windows 환경에서 사용되는 코드입니다.
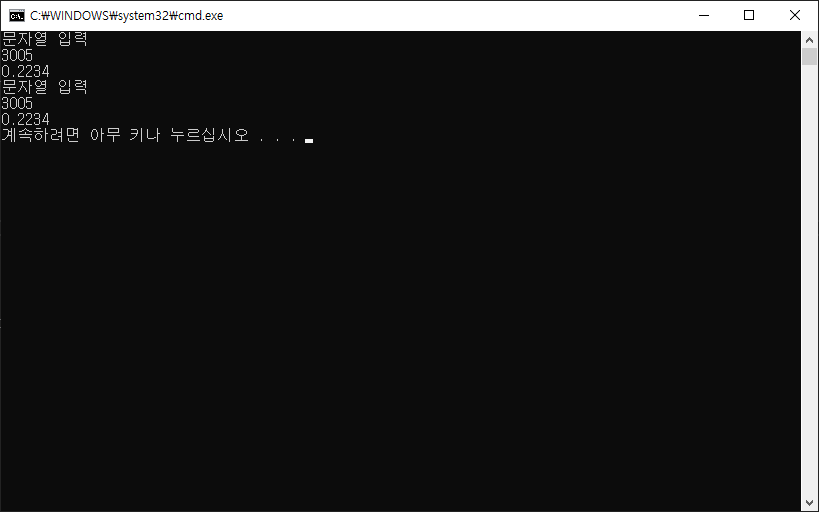
WIN API 기반으로 이름(2번째 인자)에 해당하는 Named Mutex 를 통해 내부적 처리를 한다고 합니다.
using System;
using System.Threading;
using System.Windows.Forms;

namespace WindowsFormsApp1
{
    static class Program
    {
        /// <summary>
        /// 해당 애플리케이션의 주 진입점입니다.
        /// </summary>
        [STAThread]
        static void Main()
        {
            bool isRunning;
            Mutex mutex = new Mutex(true, "UniqueMutexName", out isRunning); //뮤택스 확인

            if (!isRunning) //이미 해당이름으로 Mutex가 걸려있으면 false 없다면 true
            {
                return;
            }
            Application.EnableVisualStyles();
            Application.SetCompatibleTextRenderingDefault(false);
            Application.Run(new Form1());


            mutex.ReleaseMutex();  // 해제
        }
    }
}'C# > 기타' 카테고리의 다른 글
| [C#] Visual Studio 스크롤 시 화면 깨짐 (옵션 설정) (0) | 2024.02.10 |
|---|---|
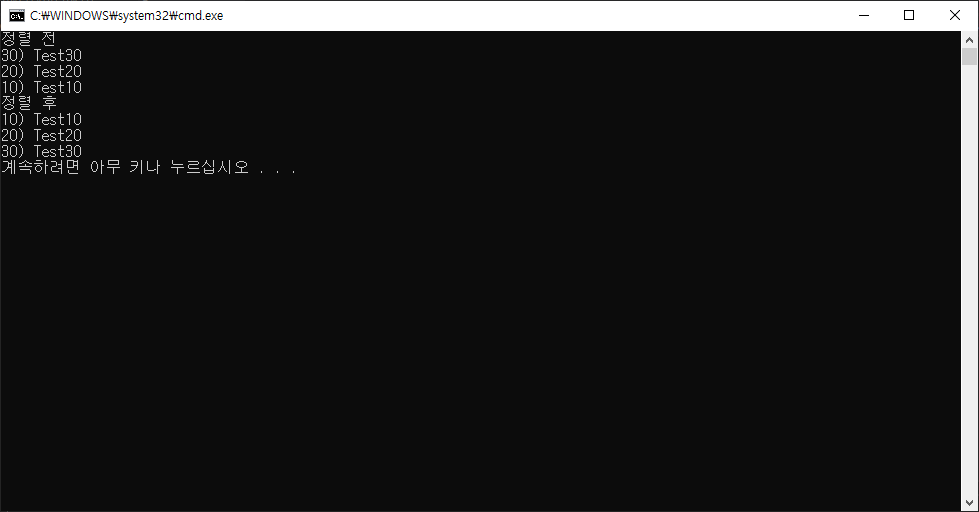
| [C#] IComparer 정렬 (클래스, 구조체 정렬) (0) | 2023.10.24 |
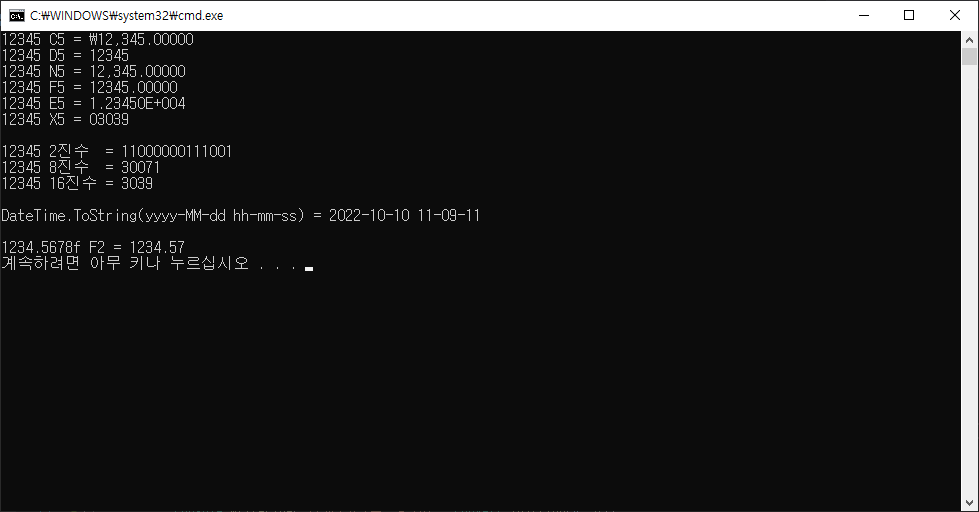
| [C#] 출력 형식 ToString("C D N F E X") (+2진수 8진수 16진수) (0) | 2022.10.10 |
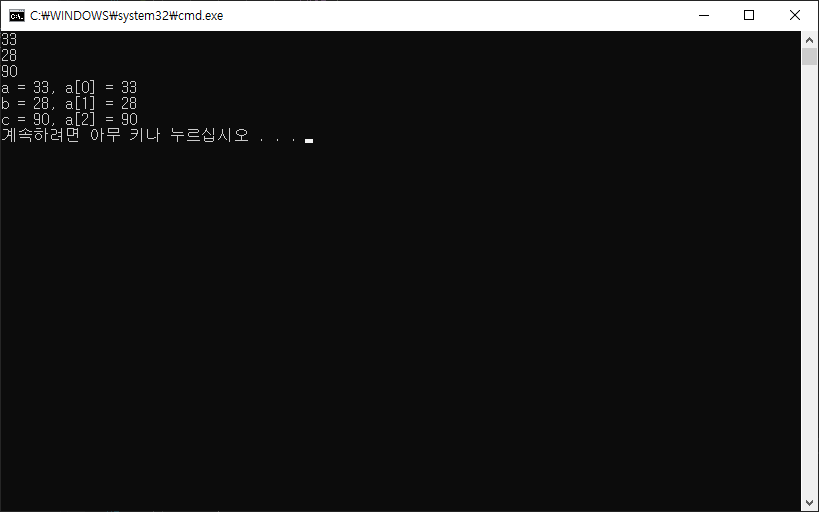
| [C#] 인덱서 Indexer (0) | 2022.07.11 |
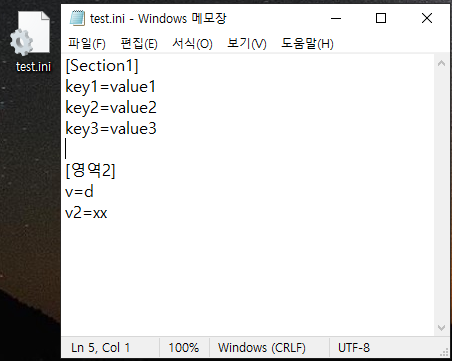
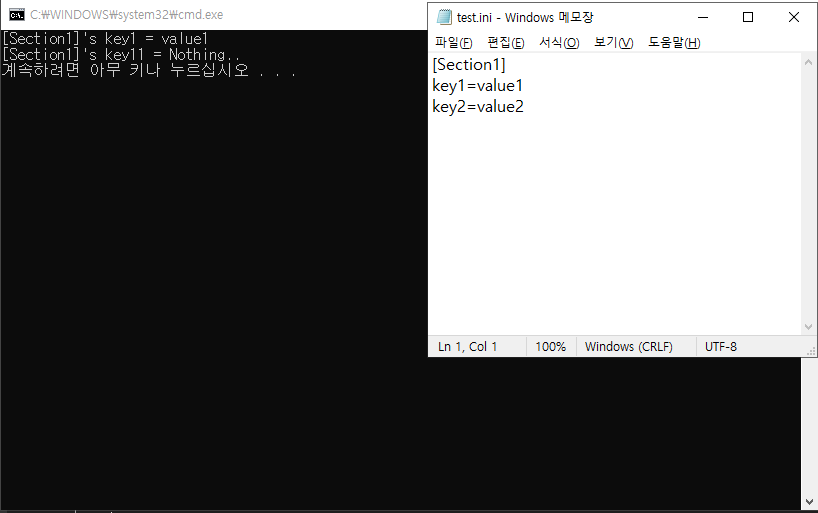
| [C#] .ini 파일 개념 및 사용 방법 ( GetPrivateProfileString, WritePrivateProfileString ) (0) | 2022.05.09 |