:msbuild 파일이 있는 곳으로 이동 (참고로 배치에서 : 은 주석!)
cd C:\Program Files (x86)\Microsoft Visual Studio\2019\Community\MSBuild\Current\Bin

:빌드할 솔루션 지정
msbuild C:\Users\dlaeh\source\repos\WindowsFormsApp1\WindowsFormsApp1.sln

: 결과를 보고 싶으면 pause 명령을 통해 멈춰줍니다.
pause
해당 배치파일 실행한 결과!!
좀 더 옵션을 줄 수도 있습니다.
:msbuild 파일이 있는 곳으로 이동
cd C:\Program Files (x86)\Microsoft Visual Studio\2019\Community\MSBuild\Current\Bin

:빌드할 솔루션 지정
msbuild C:\Users\dlaeh\source\repos\WindowsFormsApp1\WindowsFormsApp1.sln /t:Rebuild /p:Configuration="Release" /p:Platform="Any CPU"

:/t:Rebuild 		재빌드
:/p:Configuration="Release"   	디버그 혹은 릴리즈 혹은 사용자 지정 세팅
:/p:Platform="Any CPU"  	타겟 플랫폼 지정
:/v:quiet 			조용히 빌드하기

: 결과를 보고 싶으면 pause 명령을 통해 멈춰줍니다.
pause
using System.Windows.Forms;
namespace DrawString
{
public partial class Form3 : Form
{
public Form3()
{
InitializeComponent();
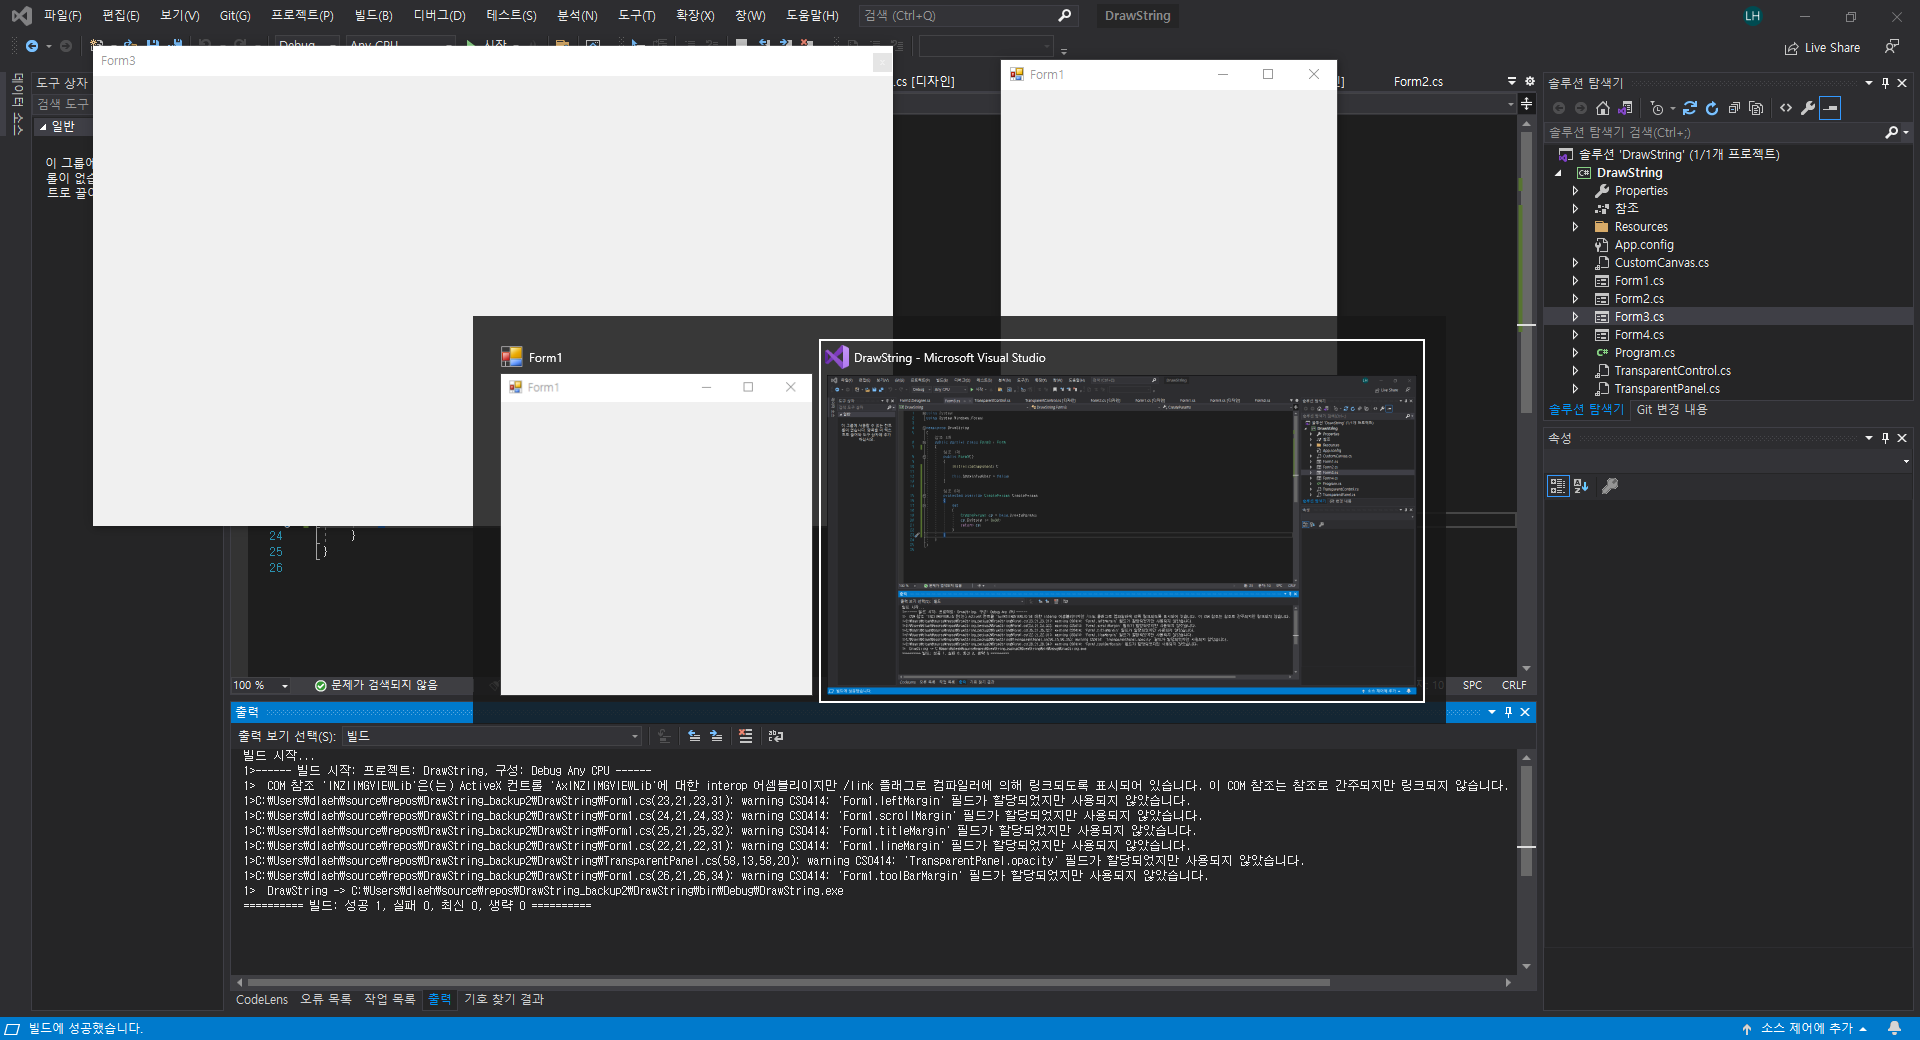
this.ShowInTaskbar = false;
this.FormBorderStyle = FormBorderStyle.FixedToolWindow;
}
//this.FormBorderStyle = FormBorderStyle.FixedToolWindow; 와 동일한 동작을 합니다.
//protected override CreateParams CreateParams
//{
// get
// {
// CreateParams cp = base.CreateParams;
// cp.ExStyle |= 0x80;
// return cp;
// }
//}
}
}
//아래 두형태에 대해서는 Alt+Tab에서 보이지 않게 되는군요!
public enum FormBorderStyle
{
...
// 요약:
// 크기를 조정할 수 없는 도구 창 테두리입니다. 사용자가 ALT + TAB을 누를 때 표시 되는 창 또는 작업 표시줄에는 도구 창이 나타나지
// 않습니다. 지정 하는 폼 있지만 System.Windows.Forms.FormBorderStyle.FixedToolWindow 일반적으로에
// 표시 되지 않은 작업 표시줄을 확인 해야는 System.Windows.Forms.Form.ShowInTaskbar 속성이 false, 기본값
// 이므로, true합니다.
FixedToolWindow = 5,
//
// 요약:
// 크기 조정 가능한 도구 창 테두리입니다. 사용자가 ALT + TAB을 누를 때 표시 되는 창 또는 작업 표시줄에는 도구 창이 나타나지 않습니다.
SizableToolWindow = 6
}